Another quick update, while I wait for dinner.
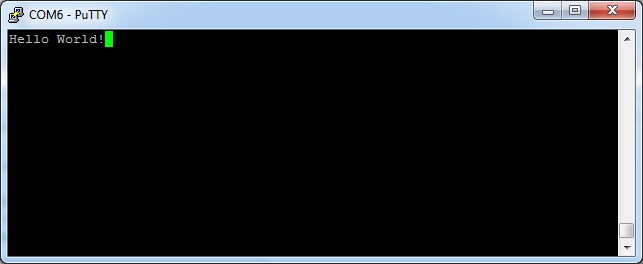
The UART receiver is working in stand-alone mode. It's been tested at 9600/8N1 and 115200/8N1 speeds, and all seems good.
There are lots more things I want to do, so perhaps a quick list is in order:
- Add the UART receiver to the microcontroller
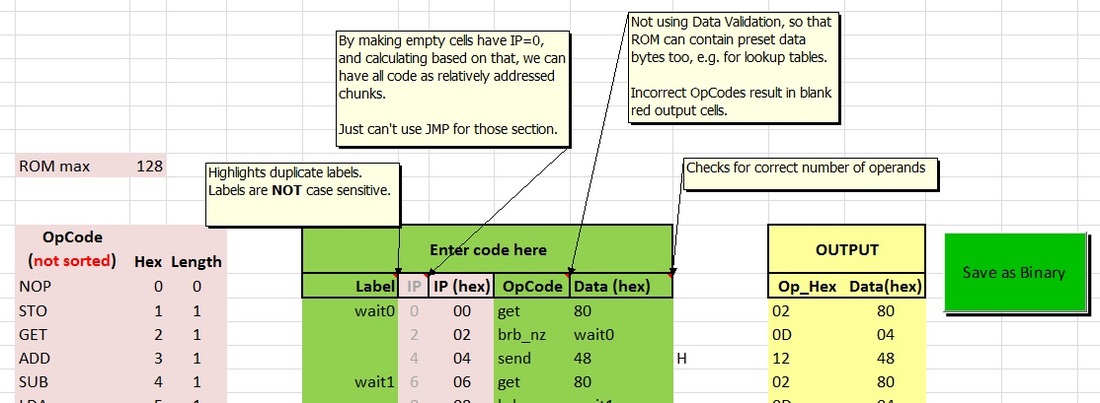
- Instruction set: add support for subroutines. This will require 2 new instructions and a stack.
- Instruction set: more registers and addressing modes? I don't want to overcomplicate the internal structure, but indexing and/or indirection would be useful. Think I'll wait until I have a definite requirement.
- Bootloader: so I can run new code on the board without rebuilding the processor.
Once the above is accomplished I envisage a code cleanup and possible redesign of the instruction set and the internal architecture. I know I don't need maximum efficiency and speed at this point, but pipelining would be cool. But that's for another day.
 RSS Feed
